In this guide, you will learn how to create and configure a basic Facebook Business Page with Messenger chat feature. Once you complete the steps below, you will have a Facebook Business page with Messenger Chat connected to your Sinch Conversation API app.
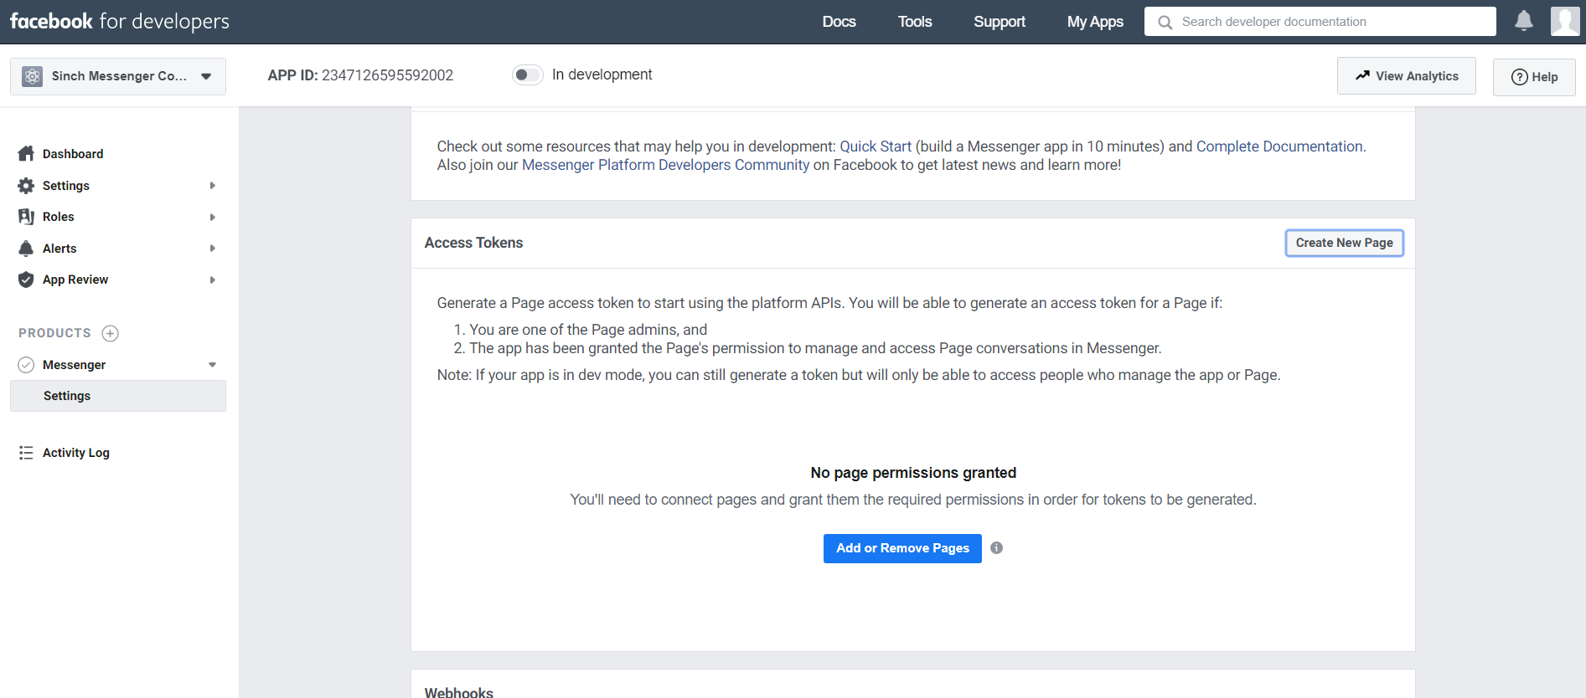
A Facebook page is required to use the Facebook Messenger API. It's used as the identity of your Messenger experience. When people chat with your app, they will see the page name and the page profile picture. To create a new page, visit https://www.facebook.com/pages/create/. If you already have one, you can skip to Configure your Facebook Messenger Channel on the Sinch Conversation API.
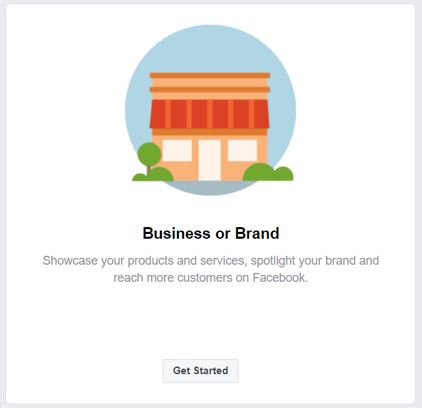
Next, choose to create a Business or Brand and fill out the ensuing page name and contact form.
You can choose to Skip adding a profile and background pictures as well as, Not Now for the option to Add online booking. You have now completed creating your Facebook Business page.
Remember, while your Facebook App is In development, the Facebook Business page is not visible to anyone except you and other developers you invite to your Facebook developer account.
Make sure to bookmark your Facebook Business page. You will head back there to send messages later.
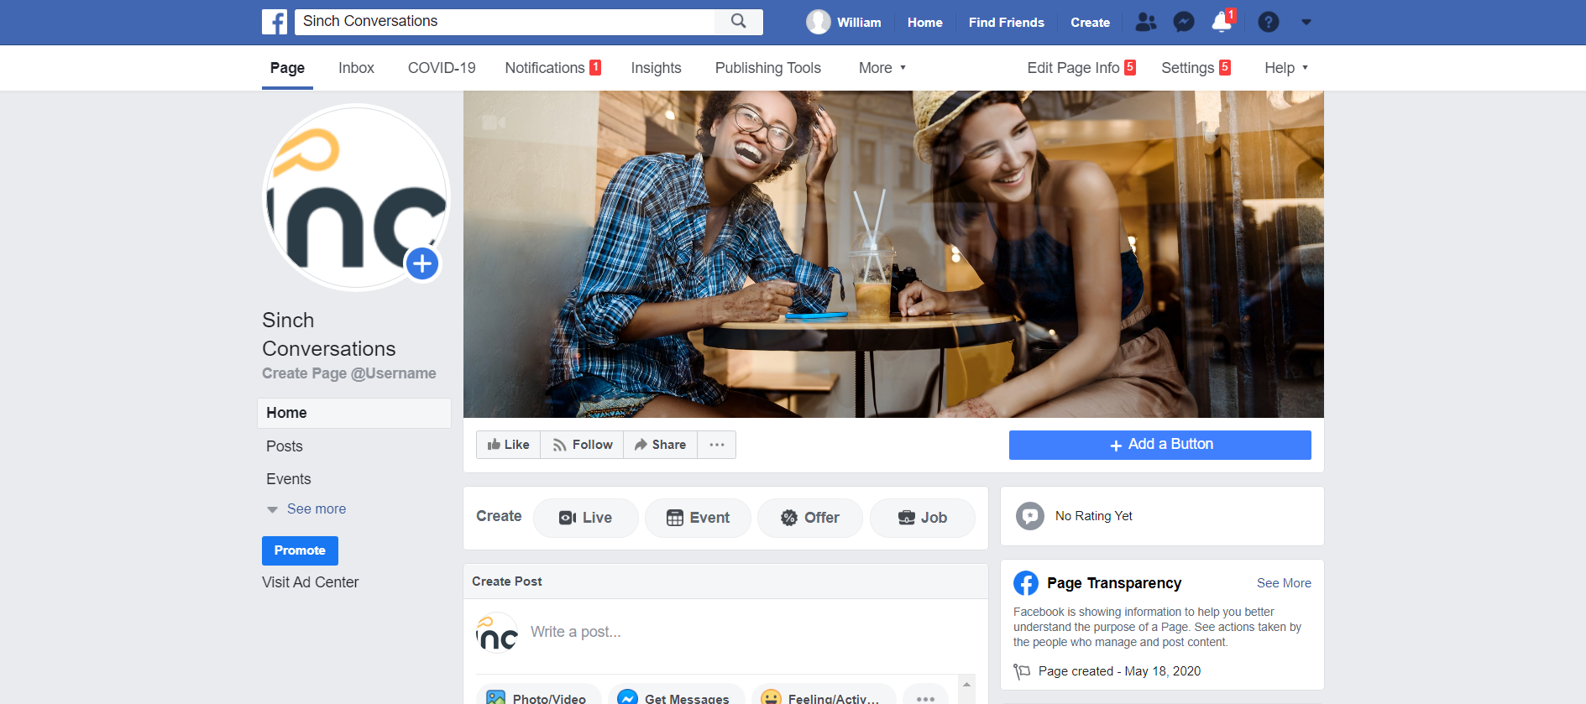
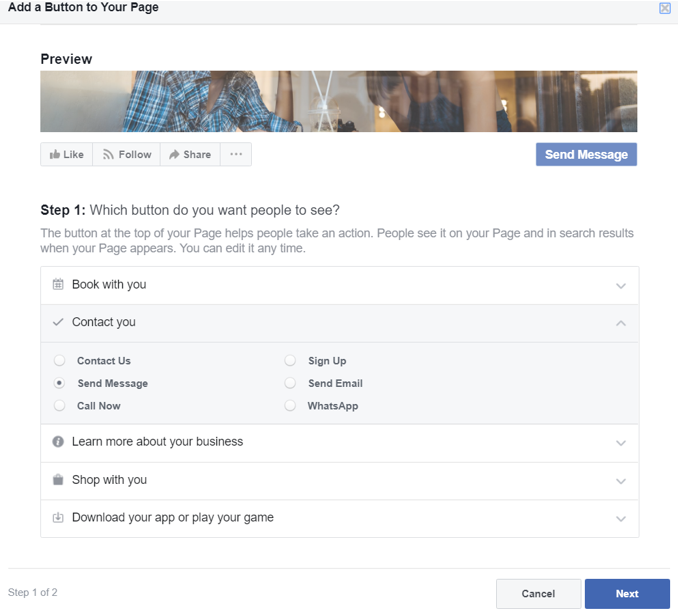
Click + Add Button.
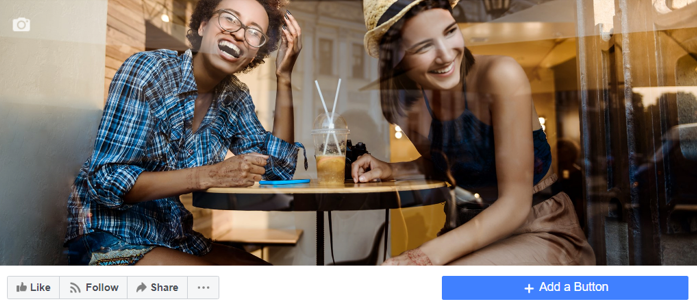
Choose Send Message and click Next.
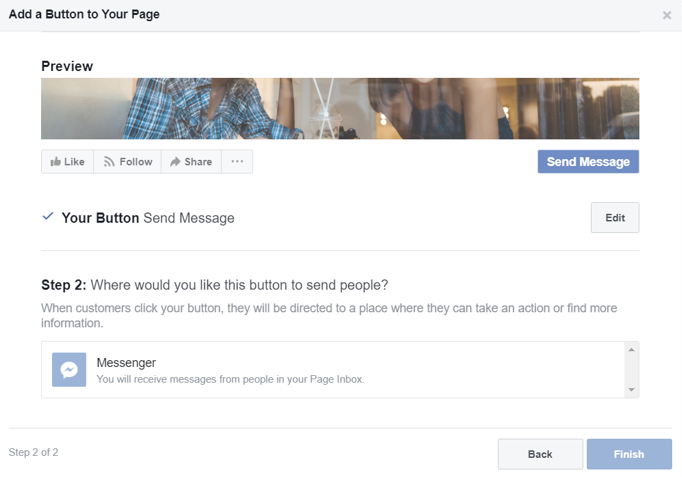
Click Messenger and then click Finish.
The easiest way to configure your channel is through the App Details page in the Sinch Portal.
Please follow the instructions provided in the Channel Setup Page for Messenger
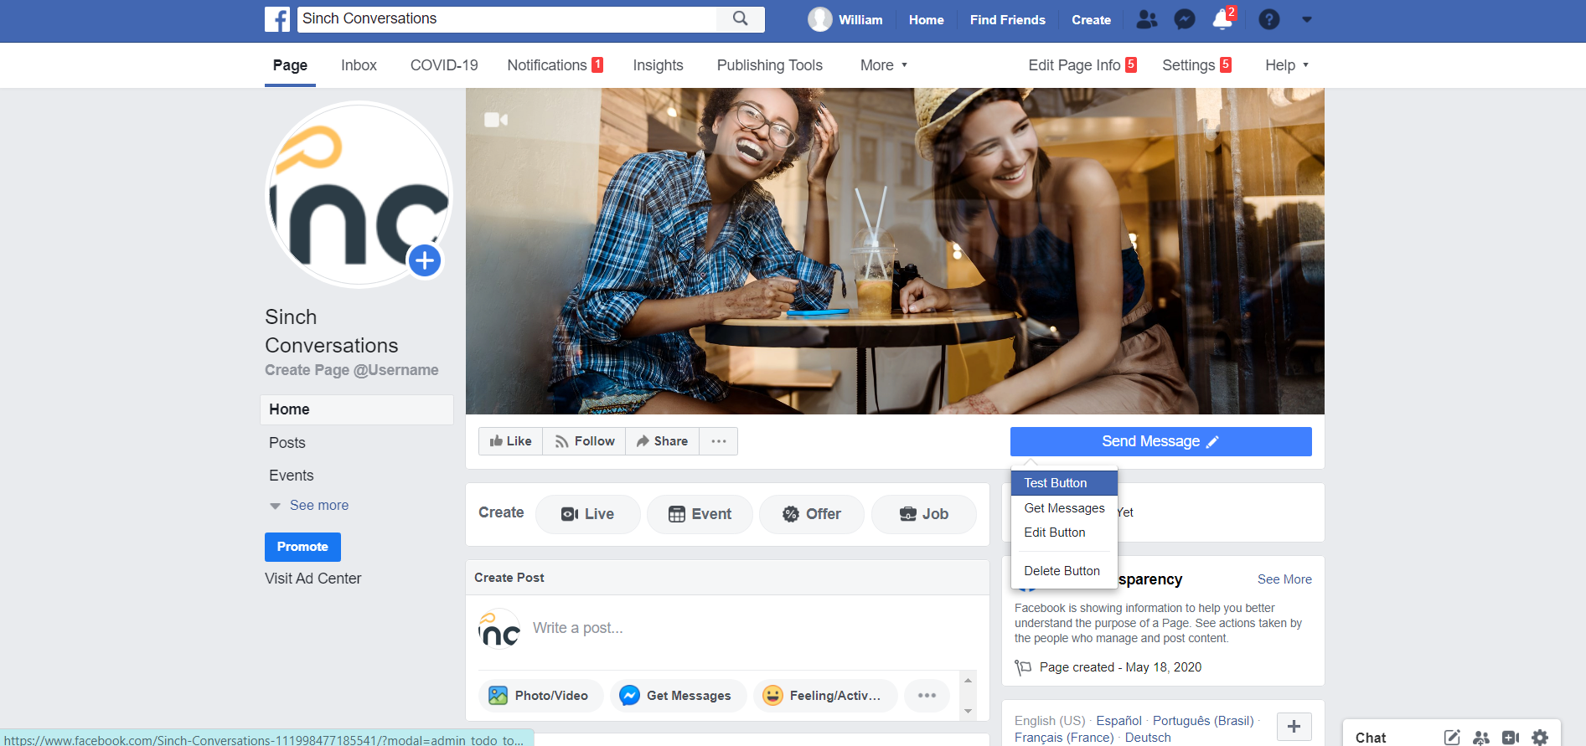
OK, you are ready for some action! Visit your Facebook page, click Send Message and choose Test Button.
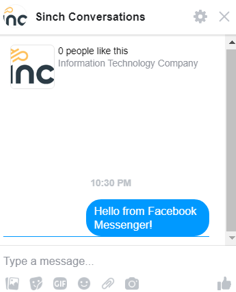
Enter a message into the Messenger chat window and Send.
Note that there's a standard messaging window of 24h on Messenger. To be able to send messages outside this response window check out Channel Specific Properties for more info.
You can send a response using the channel identity received in the callback.
{
    "contacts": [
        {
            "id": "J69H07BDS8G11RDF01E96CW660",
            "channel_identities": [
                {
                    "channel": "MESSENGER",
                    "identity": "7746490198930851",
                    "app_id": "3FDS0PWWERGN1QX101E75WGS3Y"
                }
            ],
            "channel_priority": [
                "MESSENGER",
            ],
            "display_name": "",
            "email": "",
            "external_id": "",
            "metadata": ""
        }
    ],
    "next_page_token": ""
Use your newly created Sinch Contact to send a Text Message response by using the message:send function.
curl --location --request POST 'https://eu.conversation.api.sinch.com/v1beta/projects/{project_id}/messages:send' \
--header 'Content-Type: application/json' \
--header 'Authorization: Bearer <access token>' \
--data-raw '{
    "app_id": "{{YOUR_SINCH_APP_ID}}",
    "recipient": {
        "contact_id": "{{YOUR_SINCH_CONTACT_ID}}"
    },
    "message": {
        "text_message": {
            "text": "Greetings from Sinch Conversation API!"
        }
    },
    "channel_priority_order": [
        "MESSENGER"
    ]
}'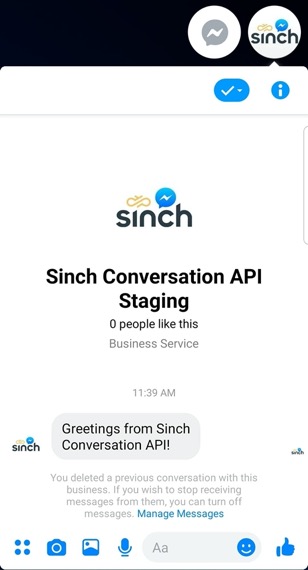
CONGRATULATIONS, you have just sent your first Sinch Conversations Messenger message!