The Omni Flow flow control allows you to extract information from prior sources on the journey (including information extracted from the Omni Channel message activity and MO messages retrieved by the Omni Entry entry source) and use it to split your journey and populate fields in subsequent activities. To successfully include the Omni Flow flow control in your journey, you must:
To add the Omni Flow flow control to your Salesforce Journey:
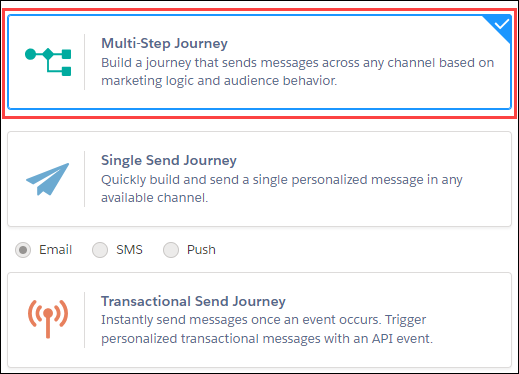
Navigate to or create the journey to which you'd like to add the Omni Flow flow control.If you are creating a journey, ensure you select a Multi-Step journey.
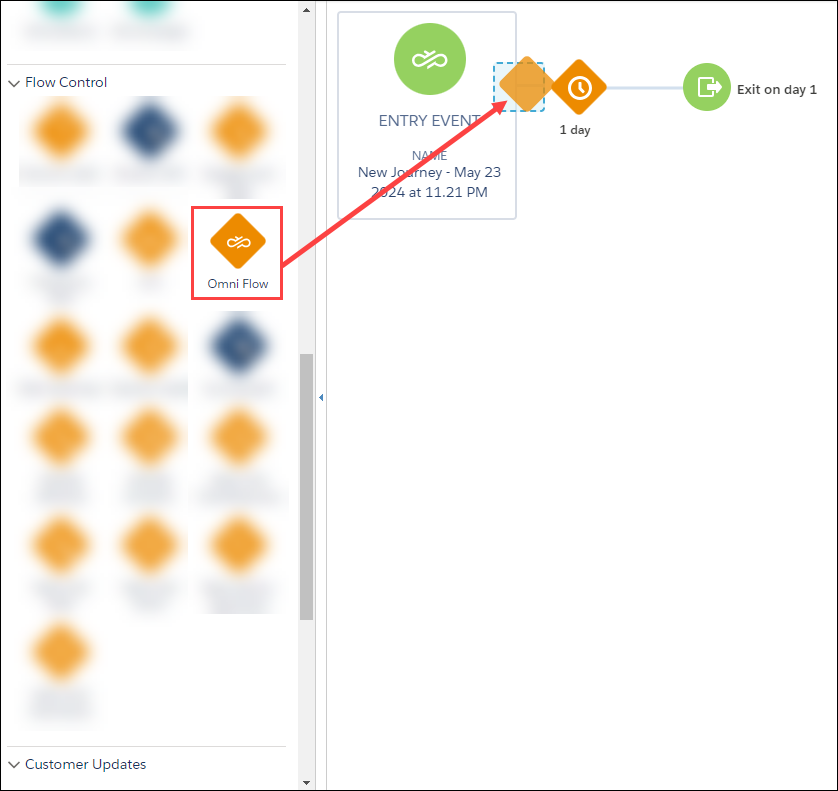
Locate the Omni Flow flow control under the Flow Control category of the ACTIVITIES section on the left side of the screen.

Click and drag the Omnichannel flow control to the appropriate space on your journey. It must be placed directly after an Omni Entry entry source (if it is to process information extracted from MO messages delivered in response to messages sent on another journey) or a combination of an Omni Channel messaging activity and a Wait Until Event control (if it is to extract responses/information from the Omni Channel activity).
After it has been added to your journey, you must configure the Omni Flow flow control.
To configure the Omni Flow flow control in your Salesforce Journey:
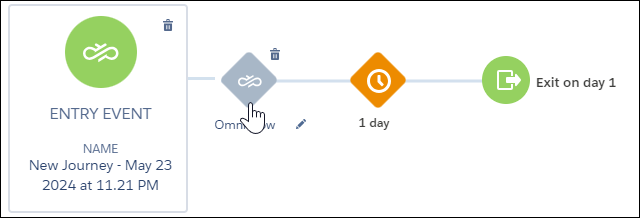
Double-click the Omni Flow flow control that is included in your journey. The first page of the Omni Flow flow control configuration wizard is displayed.
Select whether you want to split the flow of your journey By keyword or By delivery status.
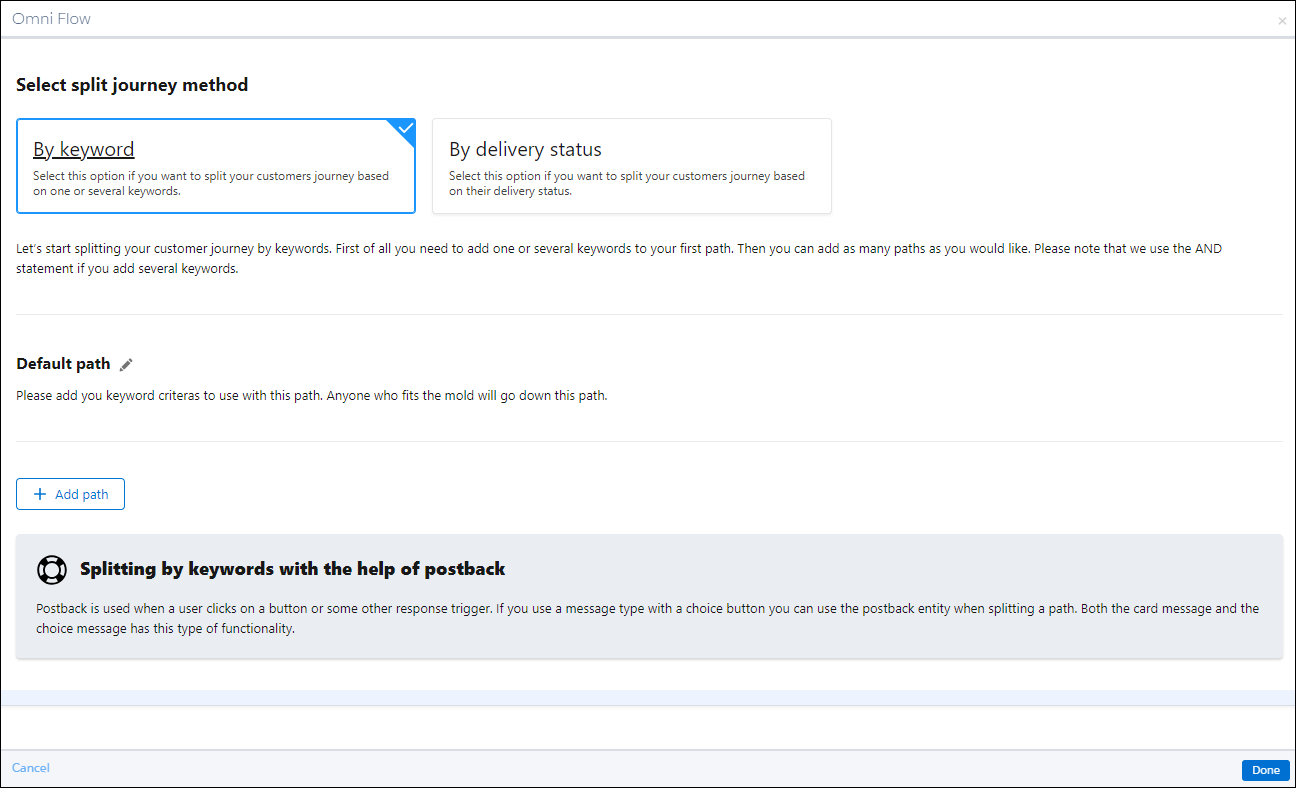
Add your first path, which should be different than the Default path. Click Add path.

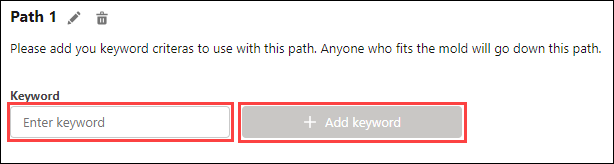
Define either a keyword (or keywords) or a delivery status (or statuses) to associate with this path, depending on the selection you made in the previous step. First, populate the field, then click Add keyword or Add delivery status.
Add as many additional paths (with unique keywords or delivery statuses) as your solution requires by using the same method in the previous step.
Note:To rename a path, click the pencil icon and enter the new name into the editable field.

When you are done adding paths, click Done.
As discussed in previous sections, you may include an Omni Flow flow control directly after a combination of a Omni Channel activity and a Wait Until Event control.
In order for this configuration to function properly, you must configure the Wait Until Event control to listen for the API event that is automatically created by the Omni Channel activity. This will provide the subsequent Omni Flow control with the appropriate pieces of data that will allow it to direct the path based on status or keywords.

